Through the Quiet Layers | A Full Page Tunnel Spread
Happy Thursday!
Some projects invite you to look a little closer.
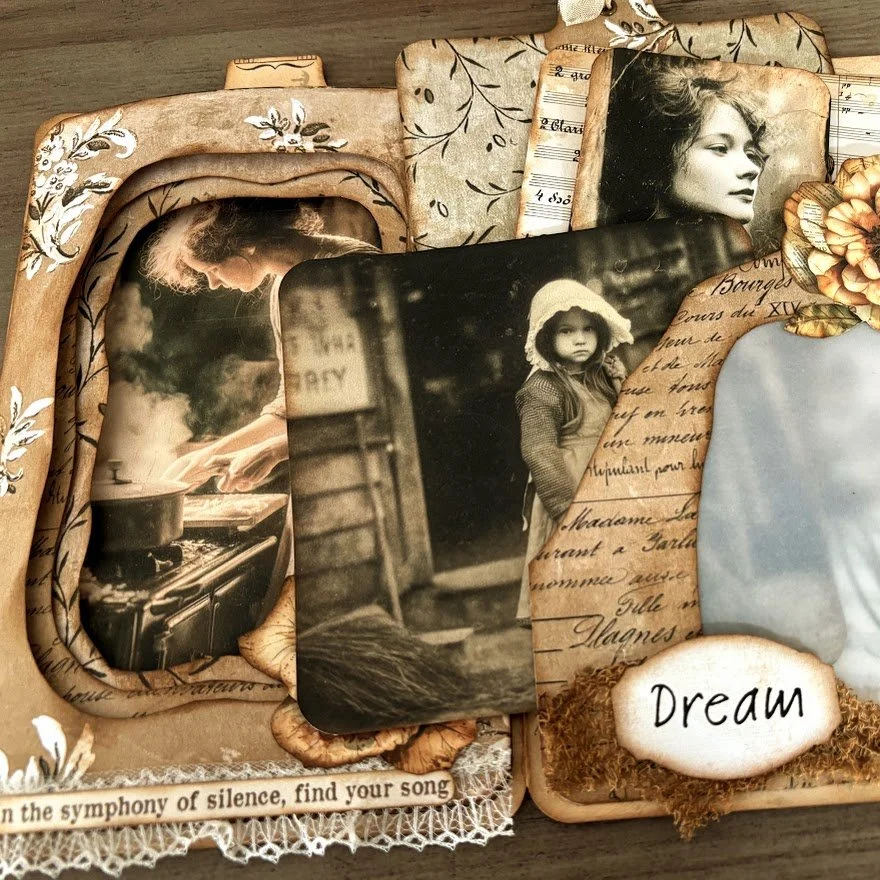
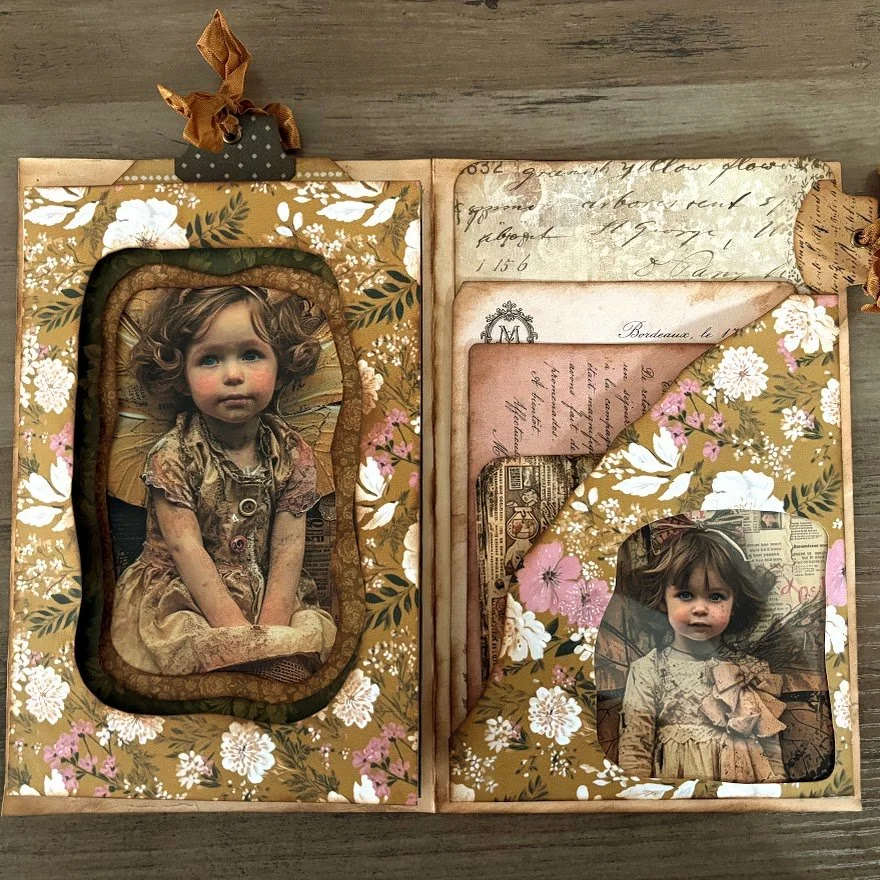
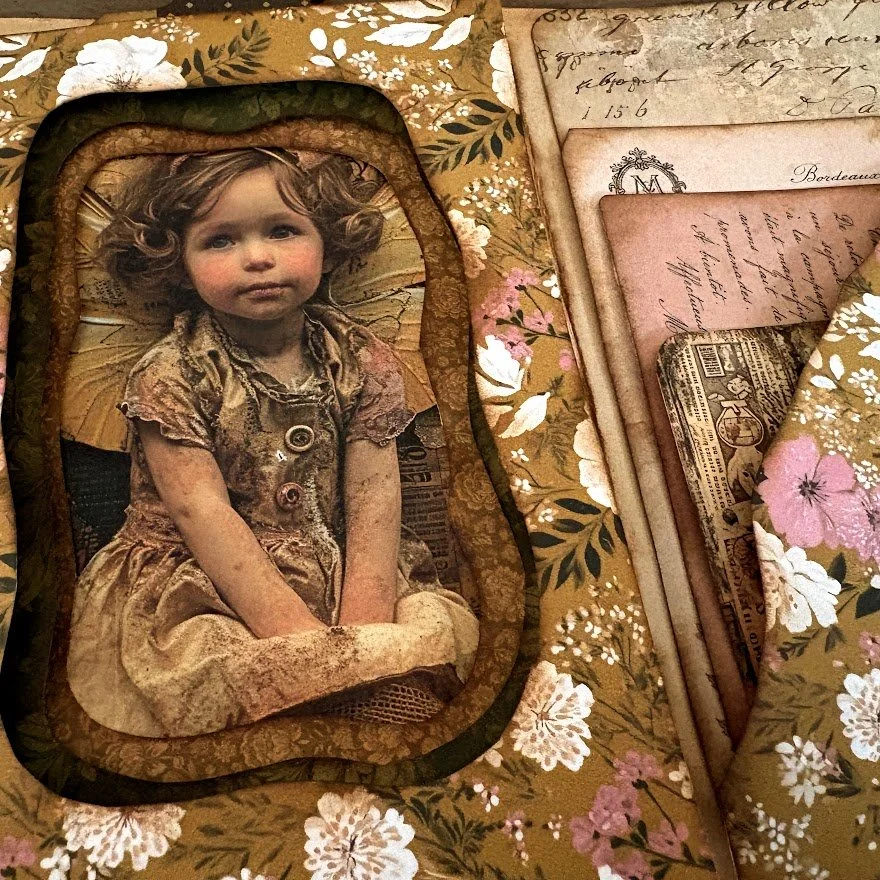
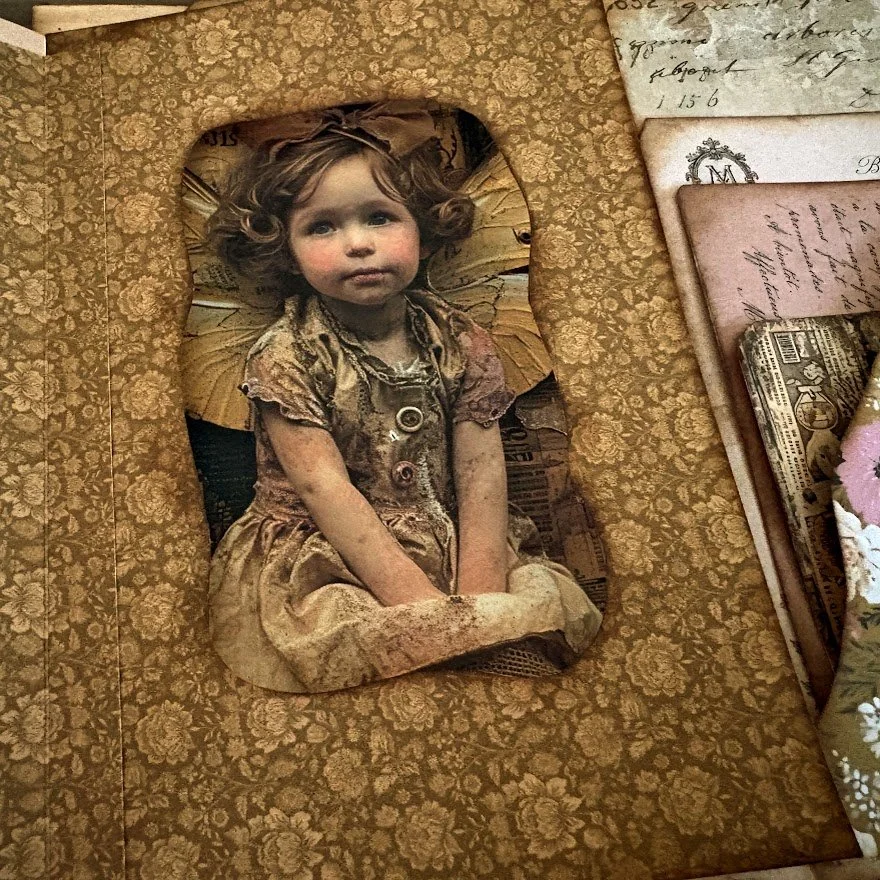
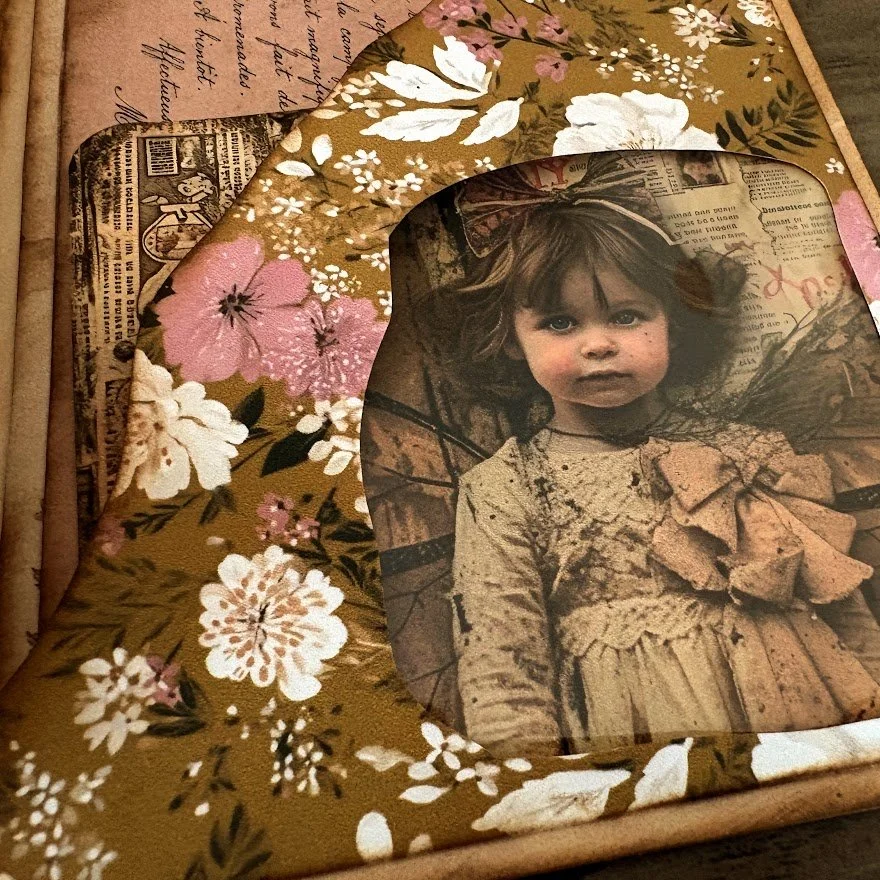
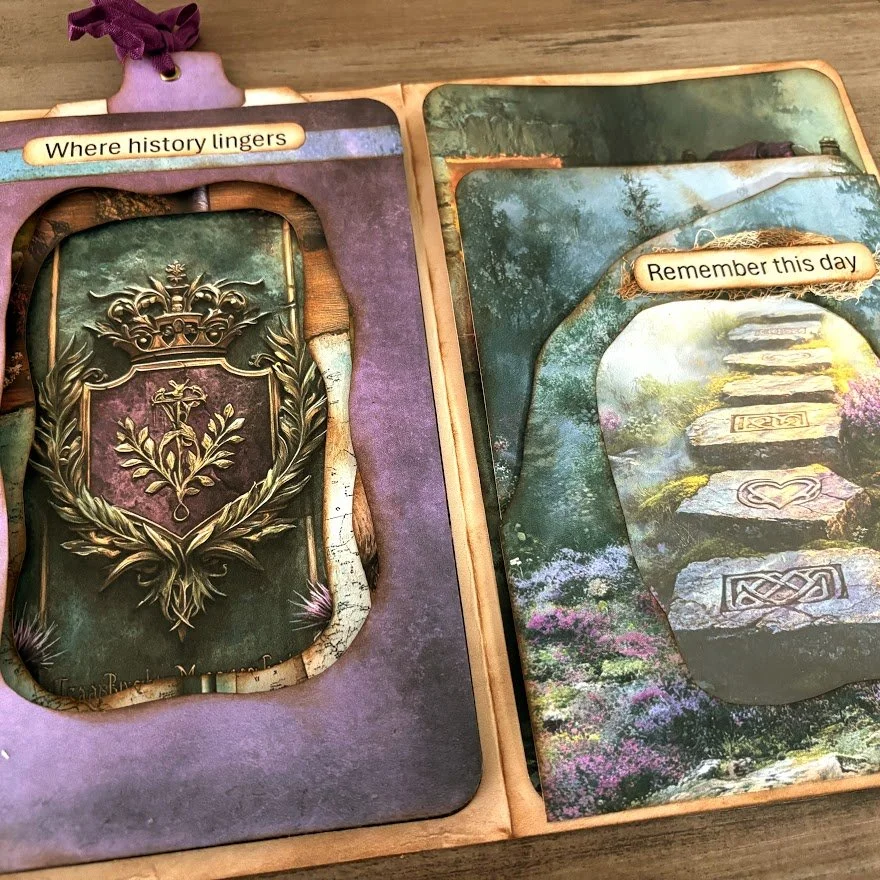
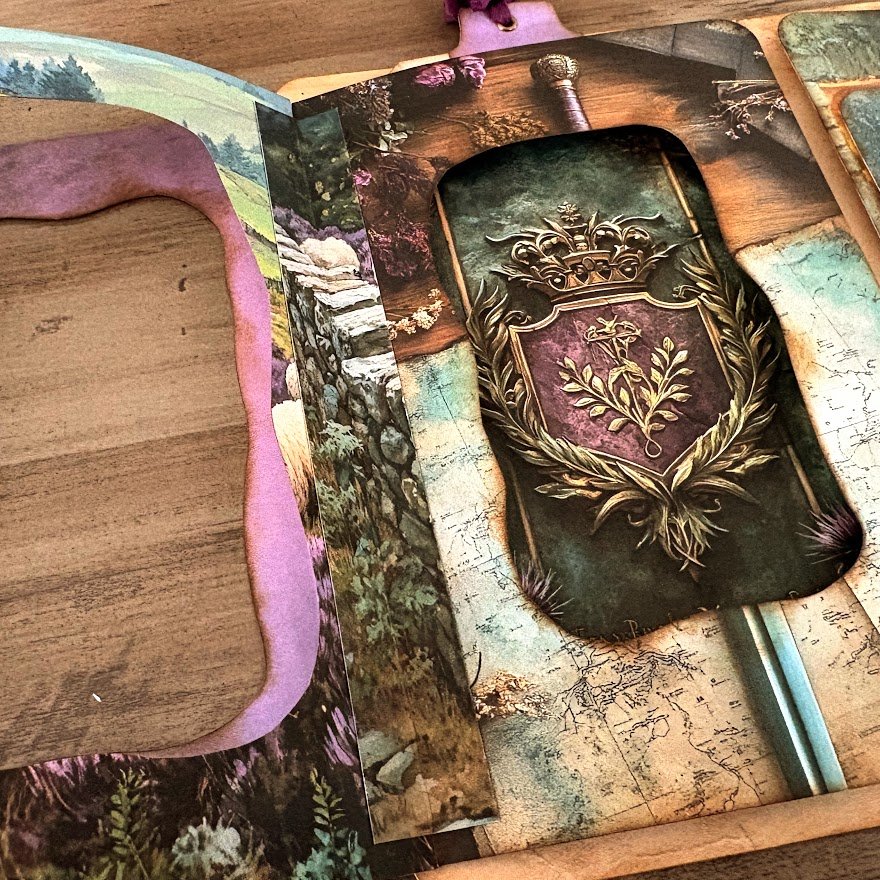
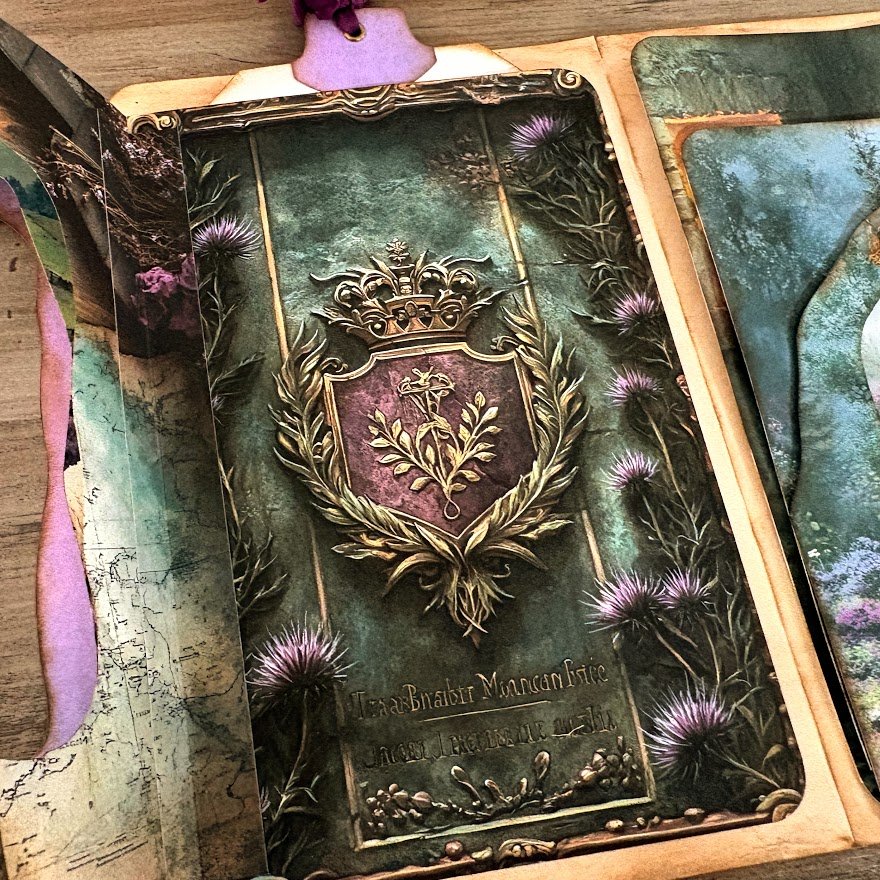
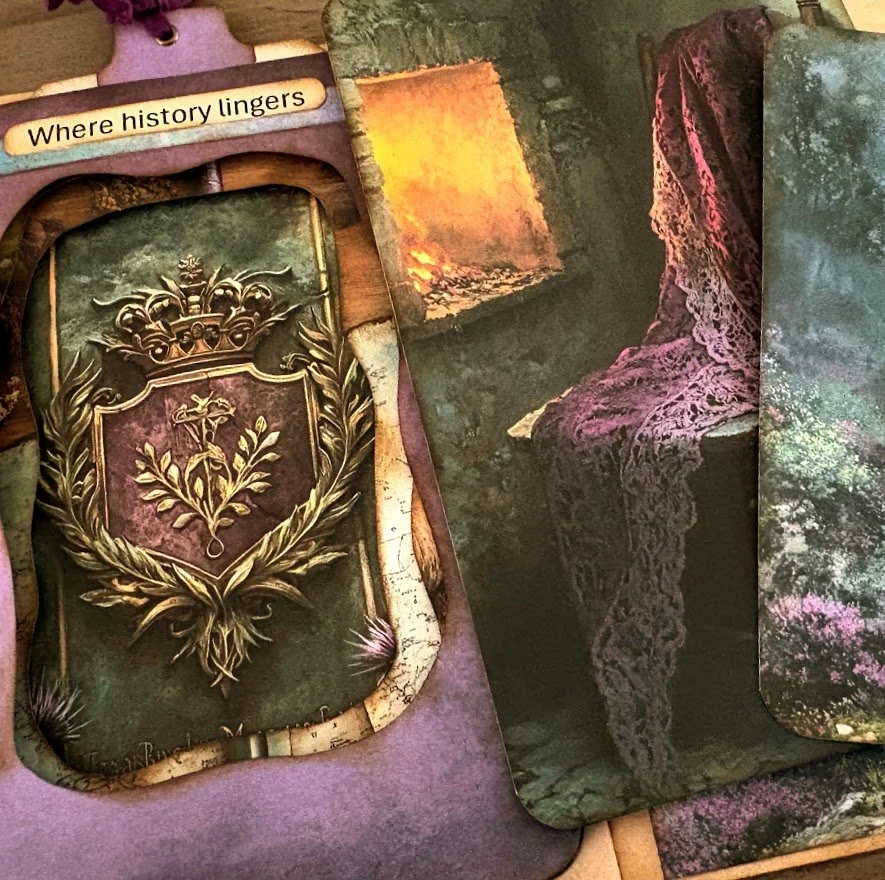
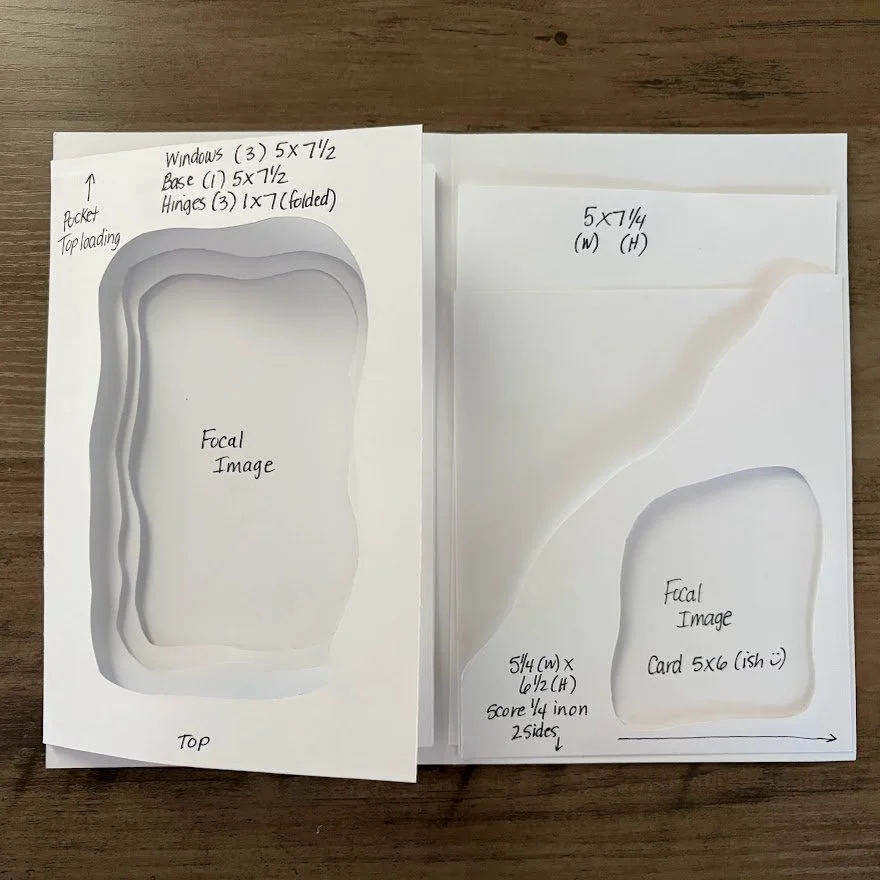
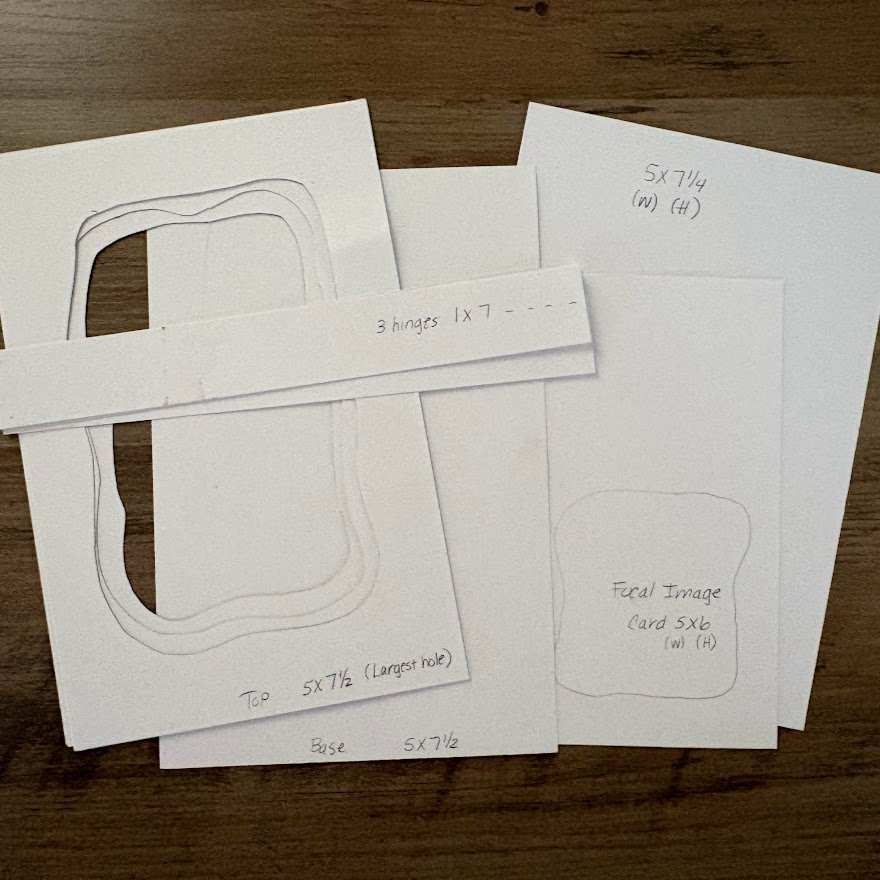
Today, we’re creating a full-page spread for my Quiet Gatherings journal using a four-layer tunnel construction that gradually leads the eye inward to a beautiful feature image.
Each layer frames just a little more of what waits beneath it, creating depth and dimension while still keeping the project completely at home within the pages of a journal.
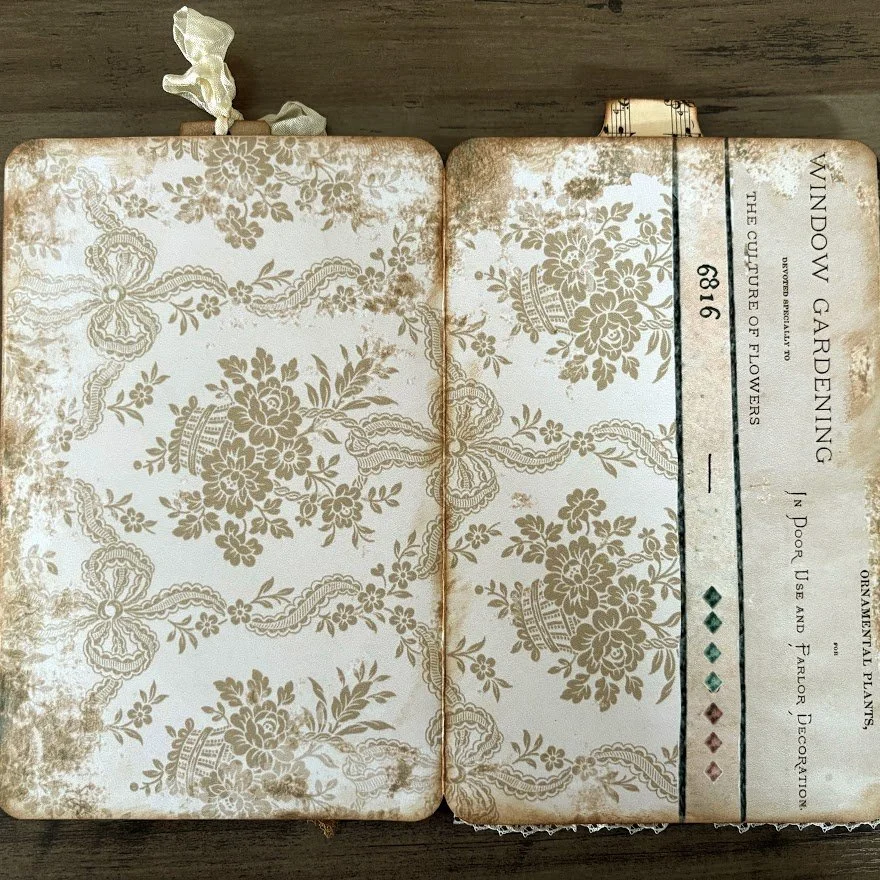
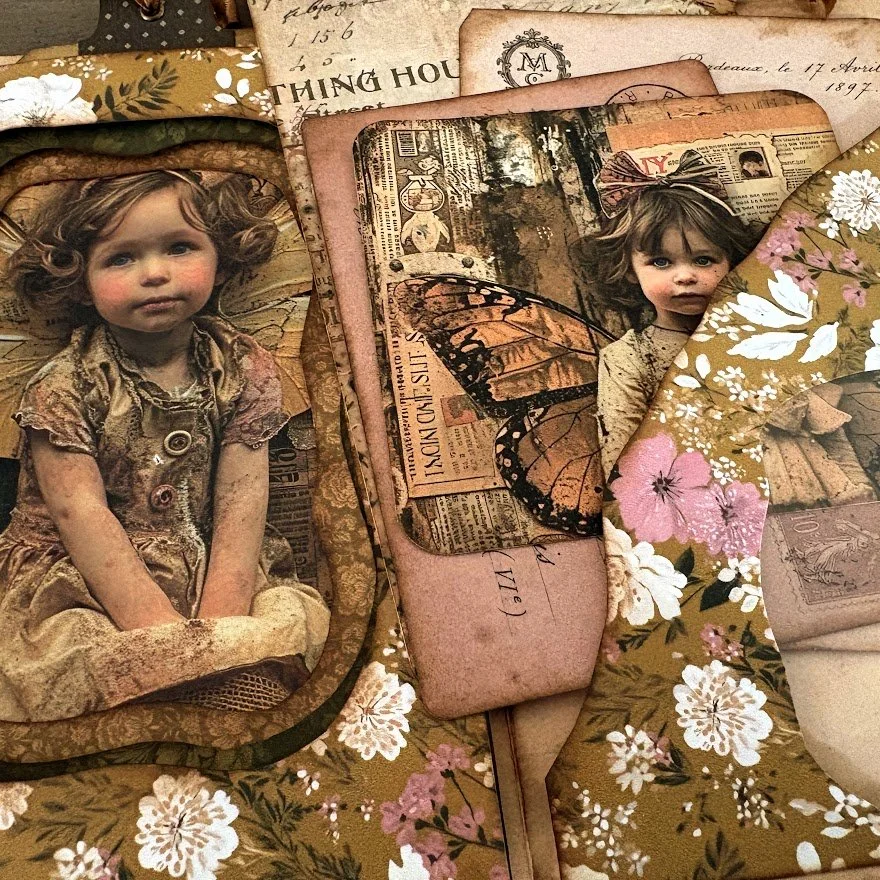
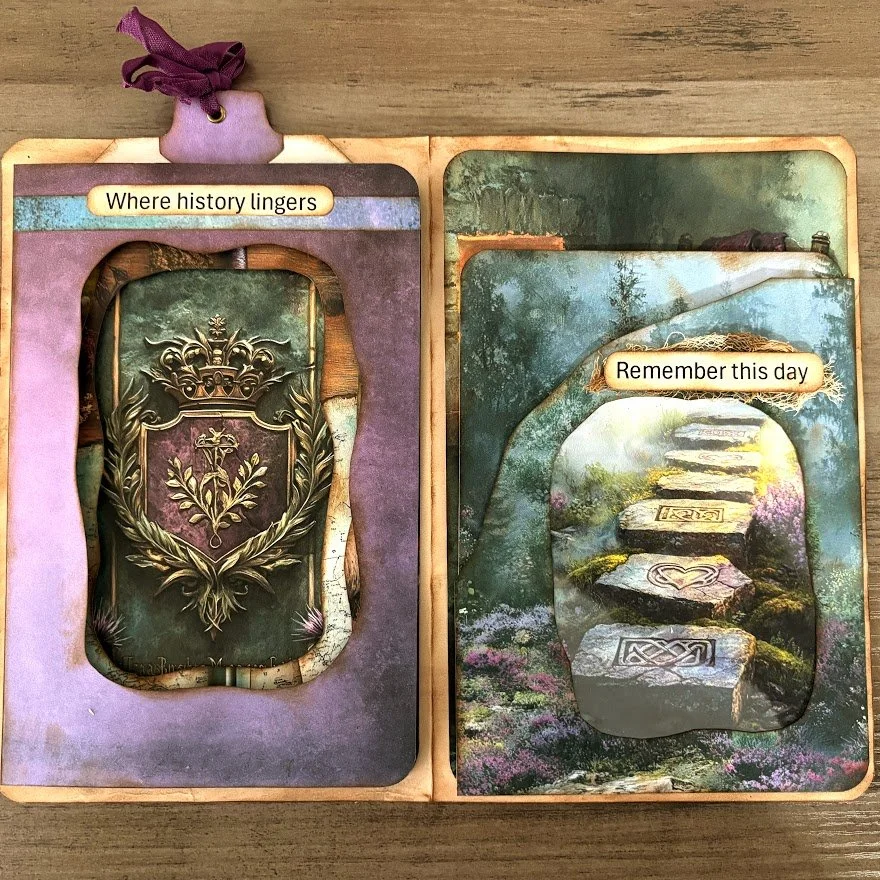
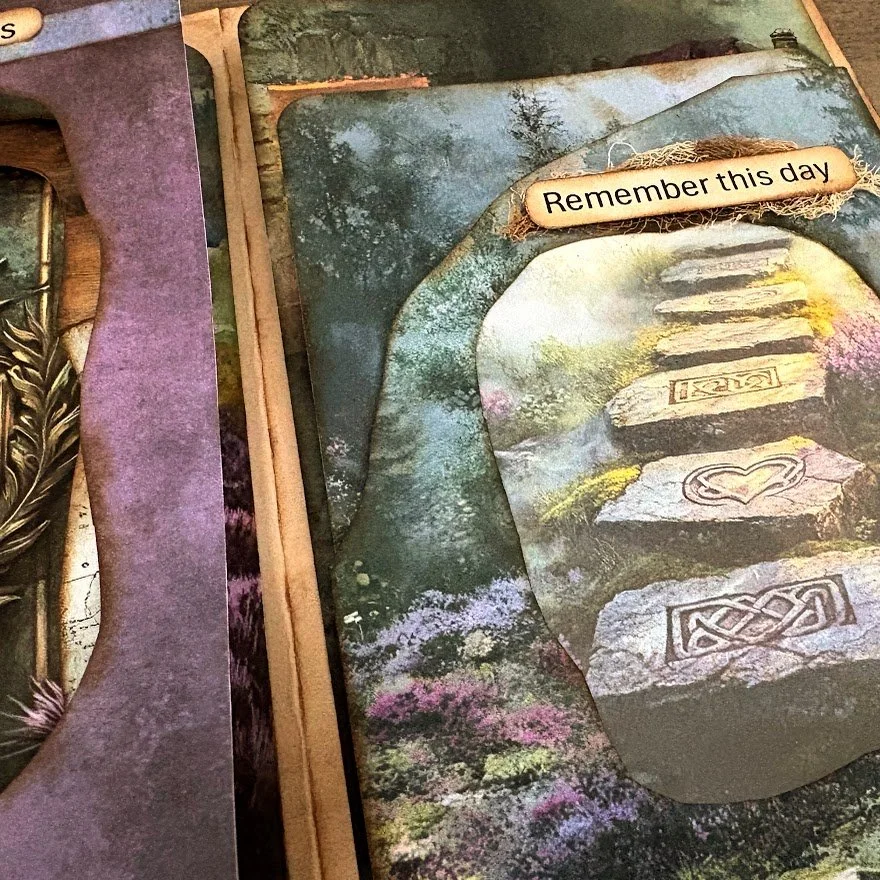
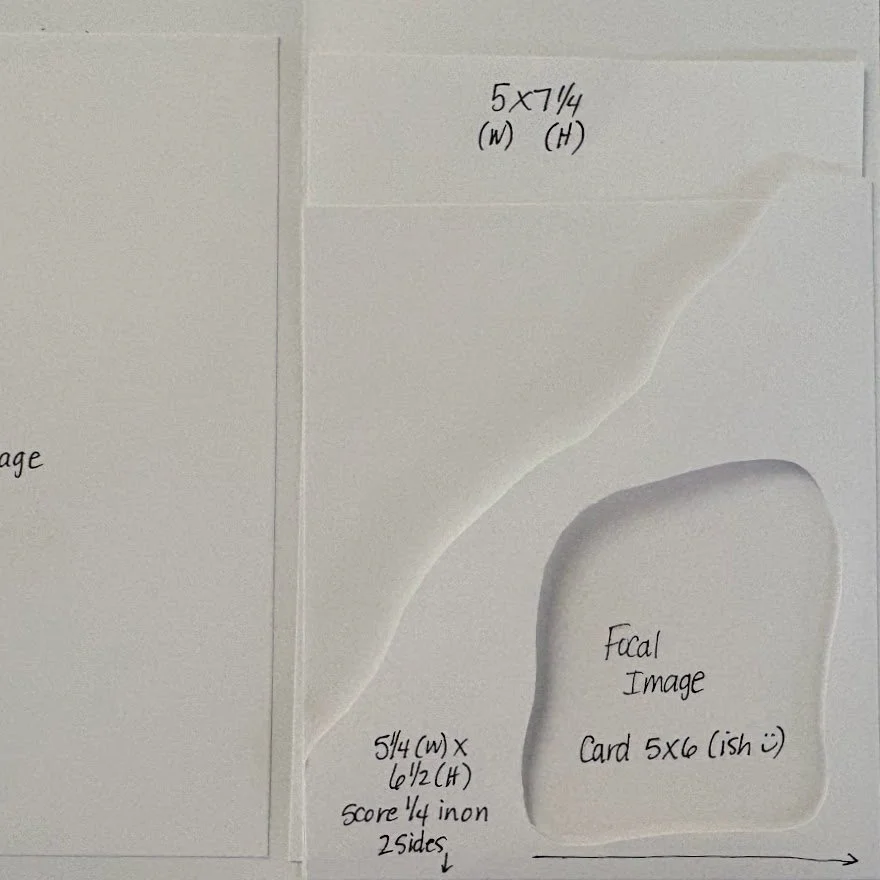
On the facing page, I’ve carried that same feeling into a coordinating pocket. Rather than simply repeating the tunnel, the shapes and layers quietly echo one another across the spread. And tucked throughout are plenty of journal cards, giving us lots of useful writing space alongside all that visual interest.
I created three different samples for this project because I wanted to see how the same construction would respond to completely different papers and imagery. Each one has its own personality, but I especially love the softness of the Quiet Gatherings version—the warm neutrals, vintage imagery and that wonderful glimpse through the layers.
This is one of those projects that feels almost like discovering something tucked away inside the journal rather than simply turning to another page.
Come create with me. 💛
Cara-Renee | B.Reborn Art & Healing
Come join the fun in our creative group! (PLEASE be sure to answer the questions and agree to the rules!)
👉 https://www.facebook.com/groups/1599602867450148
#BRebornArtAndHealing #QuietGatherings #JunkJournal #JunkJournalIdeas #JunkJournalEphemera #JunkJournalTutorial #TunnelBook #TunnelProject #FullPageSpread #JournalSpread #JournalCards #VintageJournal #PaperCrafts #HandmadeJournal #CreativeJournaling
Kits:
Kits used in this journal - Chapter One Papers – https://www.etsy.com/shop/ChapterOnePapers?ref=shop-header-name&listing_id=4515747683&from_page=listing
Kits I will be using in this journal - Coffee and Cream, Pretty Neutrals, Country Cottage, Glue Bouquet, French Florals & Peaches and Green.
Other basic supplies:
Paper trimmer – Stampin Up Trimmer – https://www.stampinup.com/products/paper-trimmer
Scissors – Fiskars - https://www.amazon.com/Fiskars-Everyday-Softgrip-Titanium-Scissors/dp/B0C8BPY957/ref=sr_1_43
Corner rounder / corner punches - https://www.amazon.com/ , Envelope-Puncher , -Laminate-Projects-Scrapbooking/dp/B08VHGLBPT/ref=sr_1_1_sspa
Barely Arts glue - https://www.amazon.com/Bearly-Art-Precision-Craft-Glue/dp/B088NN5GD8/ref=sr_1_2_sspa
Fabri-Tac - https://www.amazon.com/Beacon-Fabri-Tac-Permanent-Adhesive-BOTTLE/dp/B00PCD47FO/ref=sr_1_7
Ink – Vintage Photo Archival Ink Reinker – https://www.amazon.com/Ranger-ARD51121-Designer-Archival-Re-Inkers/dp/B01EN1YLAG/ref=sr_1_1_pp
DIY Ink Pad - https://www.amazon.com/Ranger-AIP48077-Empty-Archival-Pad-Empty/dp/B016A88EAI/ref=sr_1_1_pp
Blending tool or sponge – I use a nail file block – Just cut a square off - https://www.amazon.com/Buffers-Smoother-Polisher-Fingernail-Shinning/dp/B0CLXGPLQL/ref=sr_1_2_sspa